Inloggen
Als u een account bij ons heeft, meld u dan aan.
Registreren
Door een account aan te maken in deze winkel kunt u het betalingsproces sneller doorlopen, meerdere adressen opslaan, bestellingen bekijken en volgen en meer.
Account aanmakenBlomsterkrans tutorial
Spring wreath tutorial – blog
We stay at home and enjoy our garden. if you also have one you can gather up a basket of wildflowers with your children in a field nearby or perhaps in the forest you can find some gorgeous natural finds.
Equipment:
SCISSORS
TWINE from the garden or a Blomsterkrans base (to buy in the shop).
FLOWERS, freshly gathered or dried flowers from the garden perhaps.
A NOTE ON TWIGS:
You need live, bendy twigs to work with; anything that’s been dried will just snap. The very best time to gather and make these wreath bases is in the middle of winter.
You need at least one twig long enough to bend into a nice full circle the size of your wreath. The rest can be a little shorter, if necessary. If you like to use a Blomsterkrans base you can order it in our shop.
——
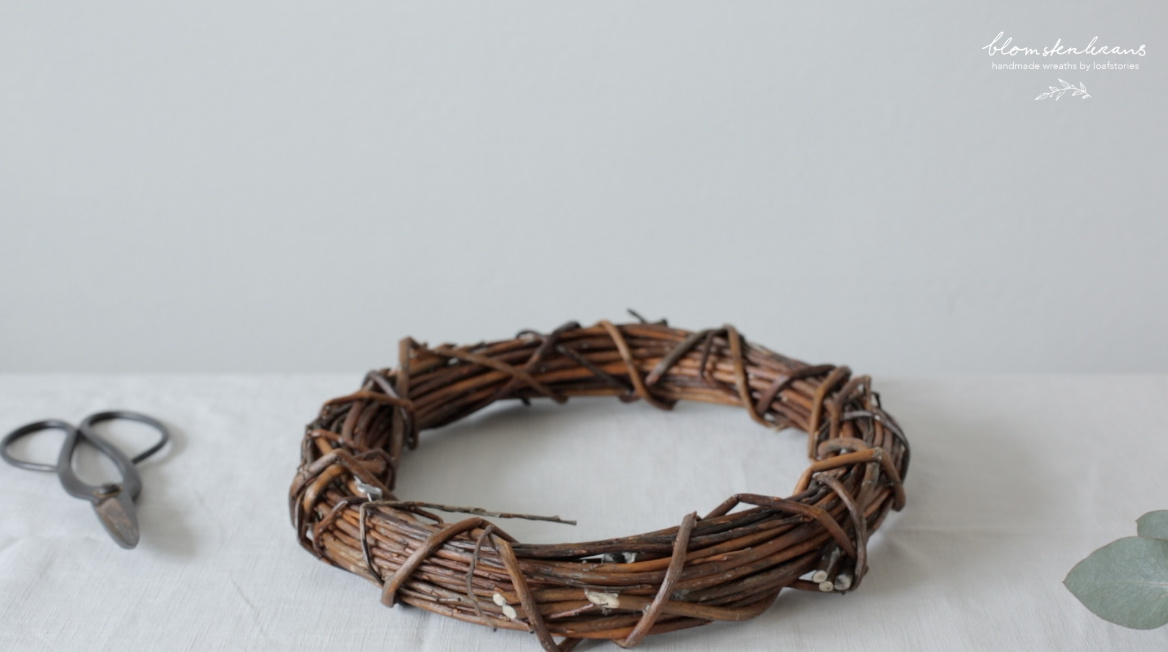
[PHOTO ONE]
Use our handwoven base wreath. The one in the picture is a handmade and 100% natural base you can find in the shop.
If you make one yourself don’t worry if it isn’t a perfect circle it makes it even more beautiful.
We will have an online teaching program in a few months. We can teach you how to make a beautiful base wreath of twigs.

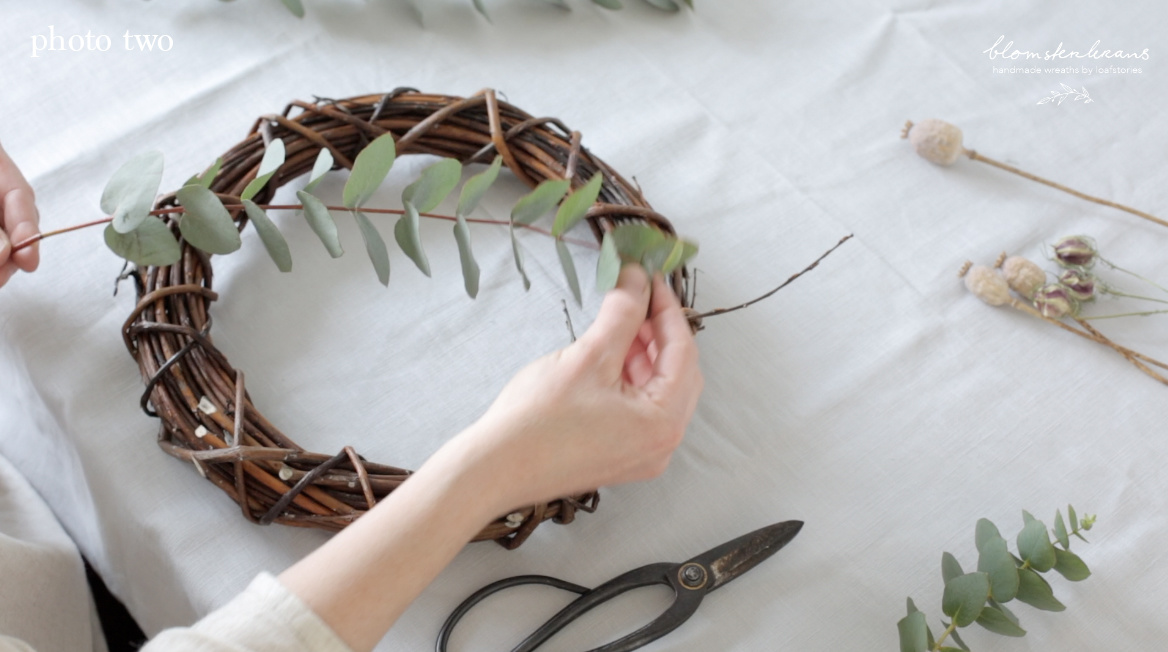
[PHOTO TWO]
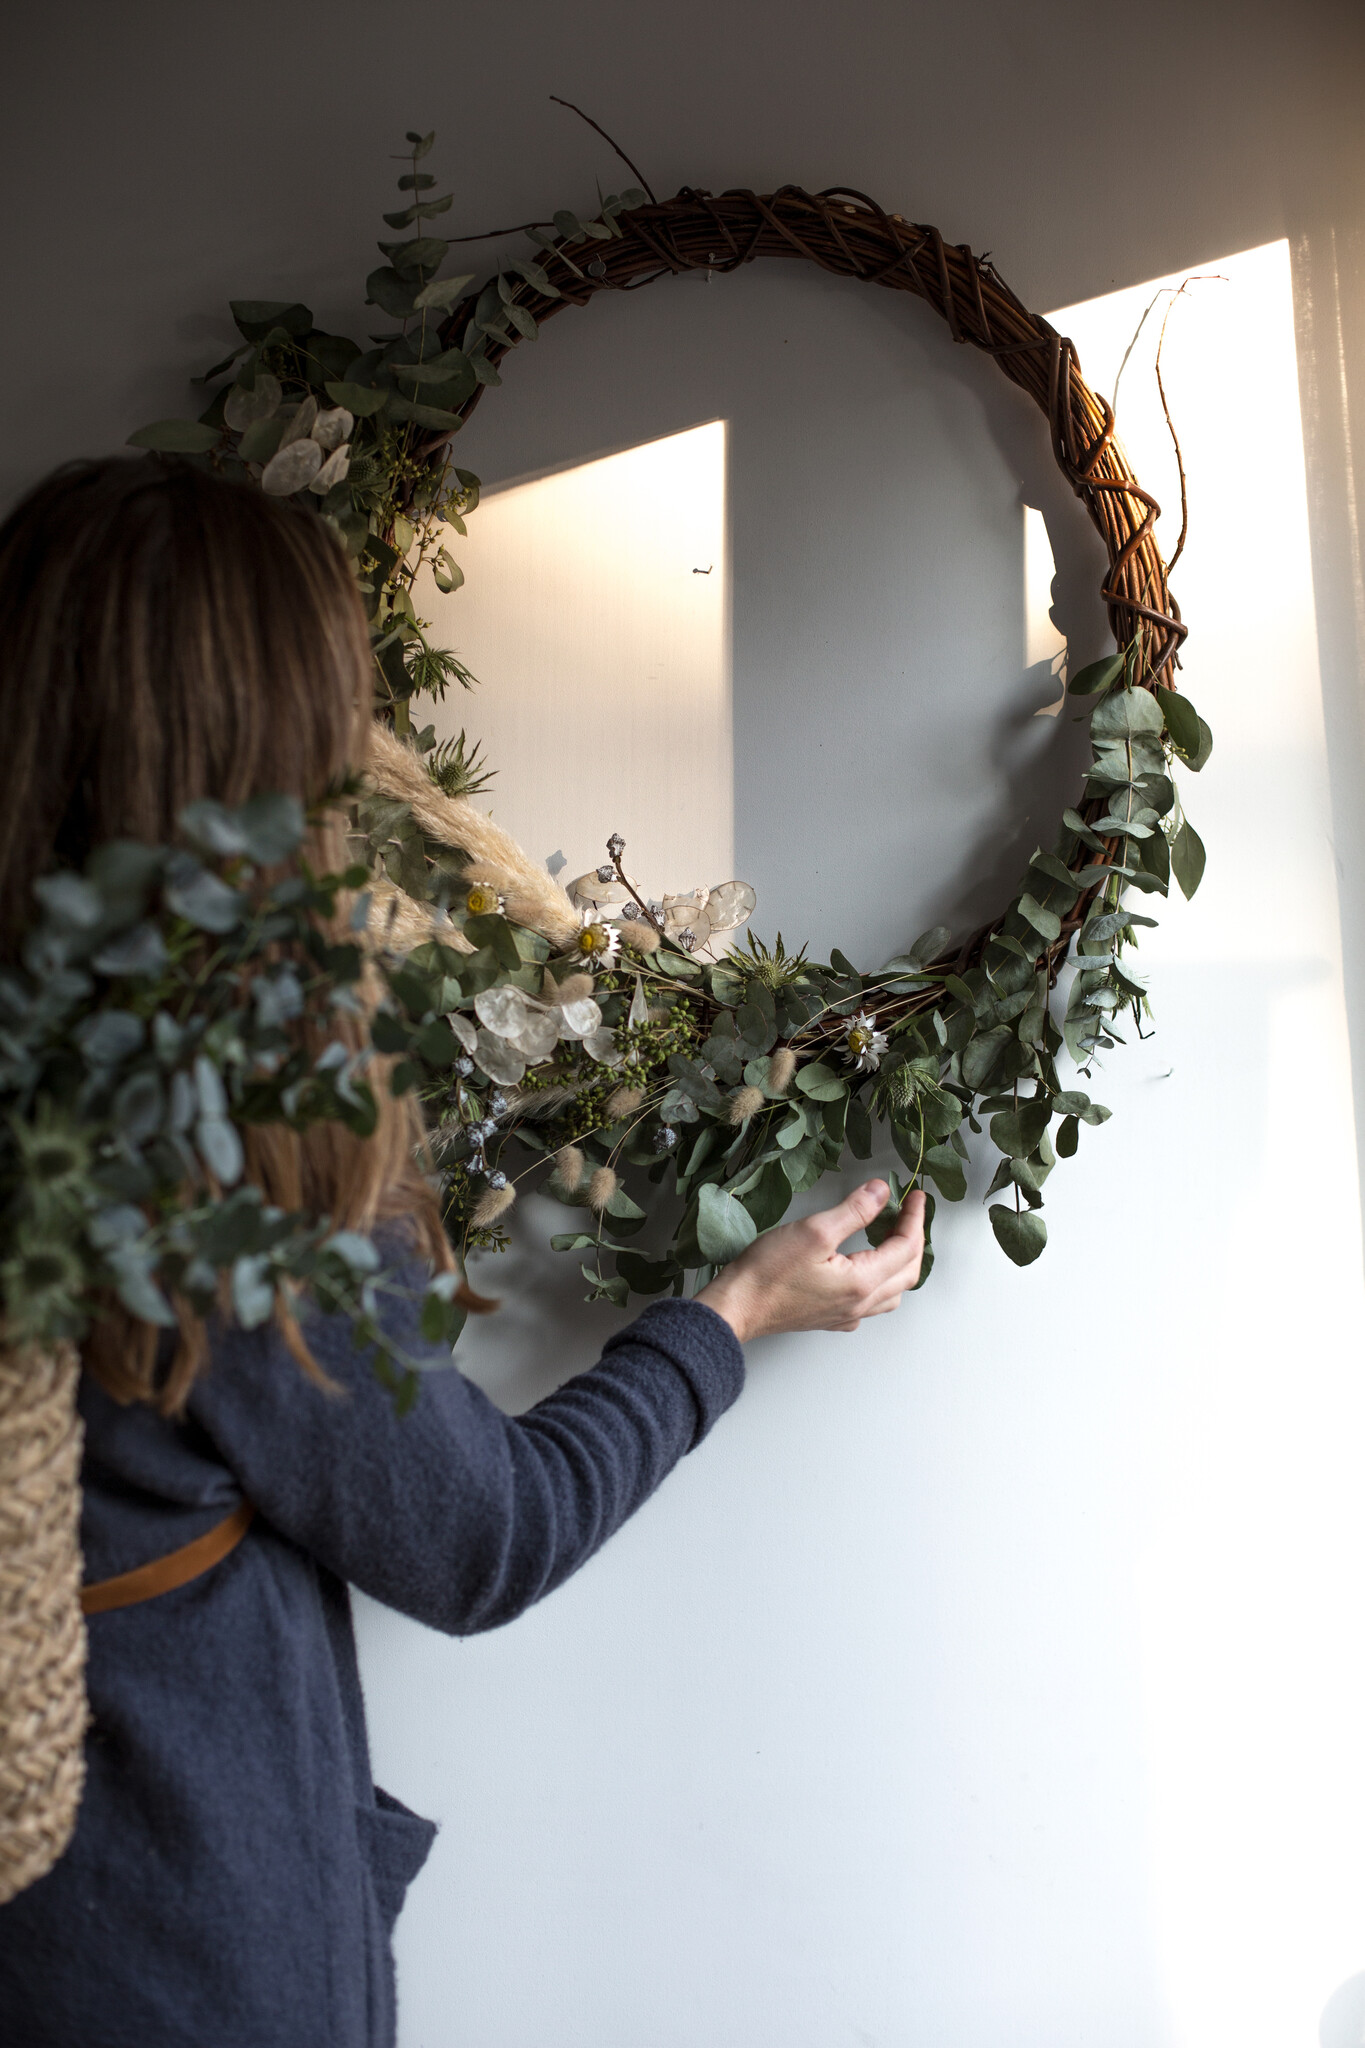
We start with the greens putting in the base wreath
Get all the materials and see where you can put the greens. Cut the various branches to the right size for the arrangement.
Tip: you can decide on how long they should be, it’s also depending on the size of your wreath.
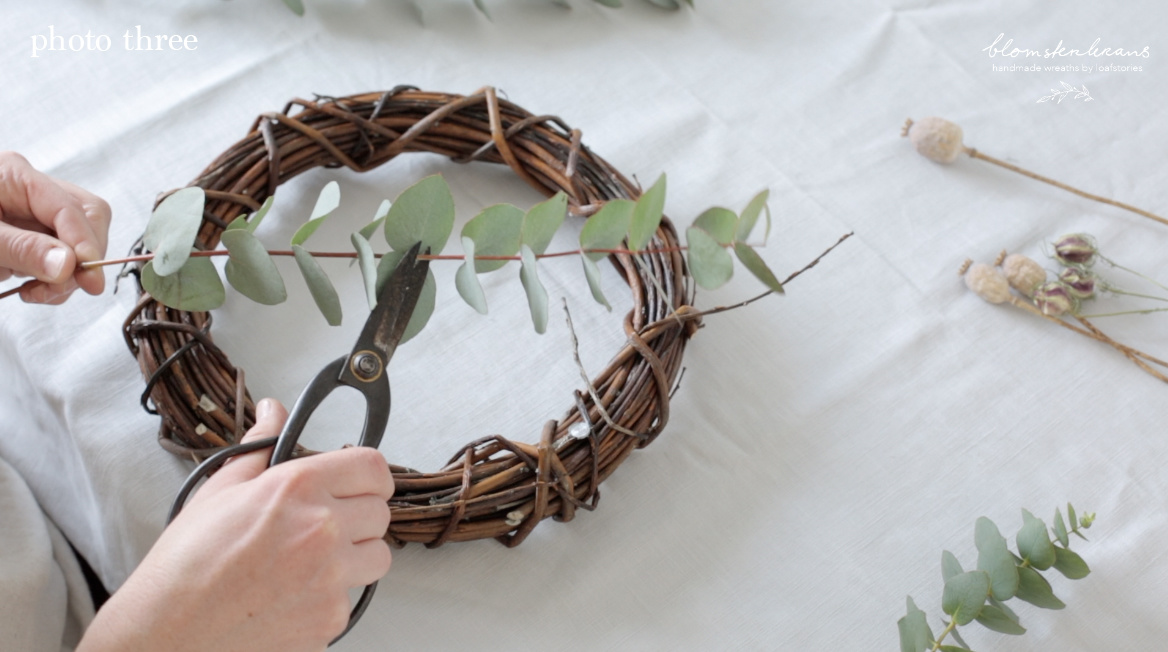
[PHOTO THREE]
Continue adding more eucalyptus or other greens of your liking in this fashion and direction. Once you have a few on, you’ll find it’s not necessary to tie them in, as you can just tuck the end into the existing natural base.
Try to spread your twigs evenly; I find adding one or two stems wrapped in the opposite direction to the rest helps to create a fuller wreath.
Tip: with a bow: the flowers should go in two directions and join in the middle.
With three quarters: the arrangement as we know our Blomsterkrans it should go in one direction. Start with a base of green or something else and the flowers come after.
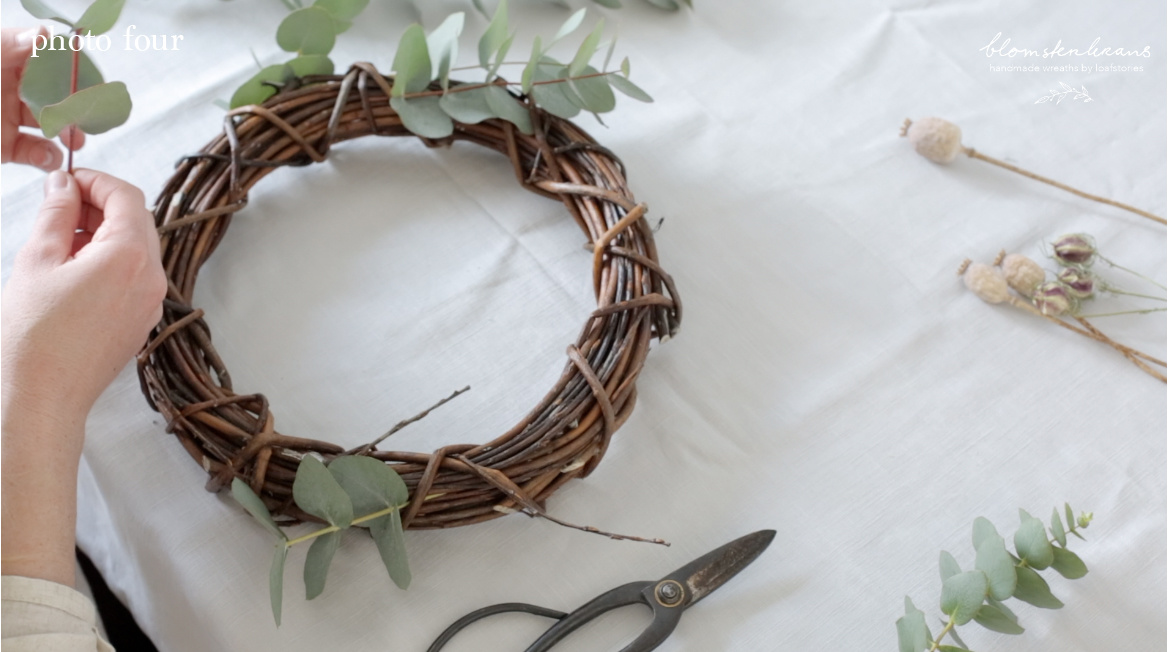
[PHOTO FOUR]
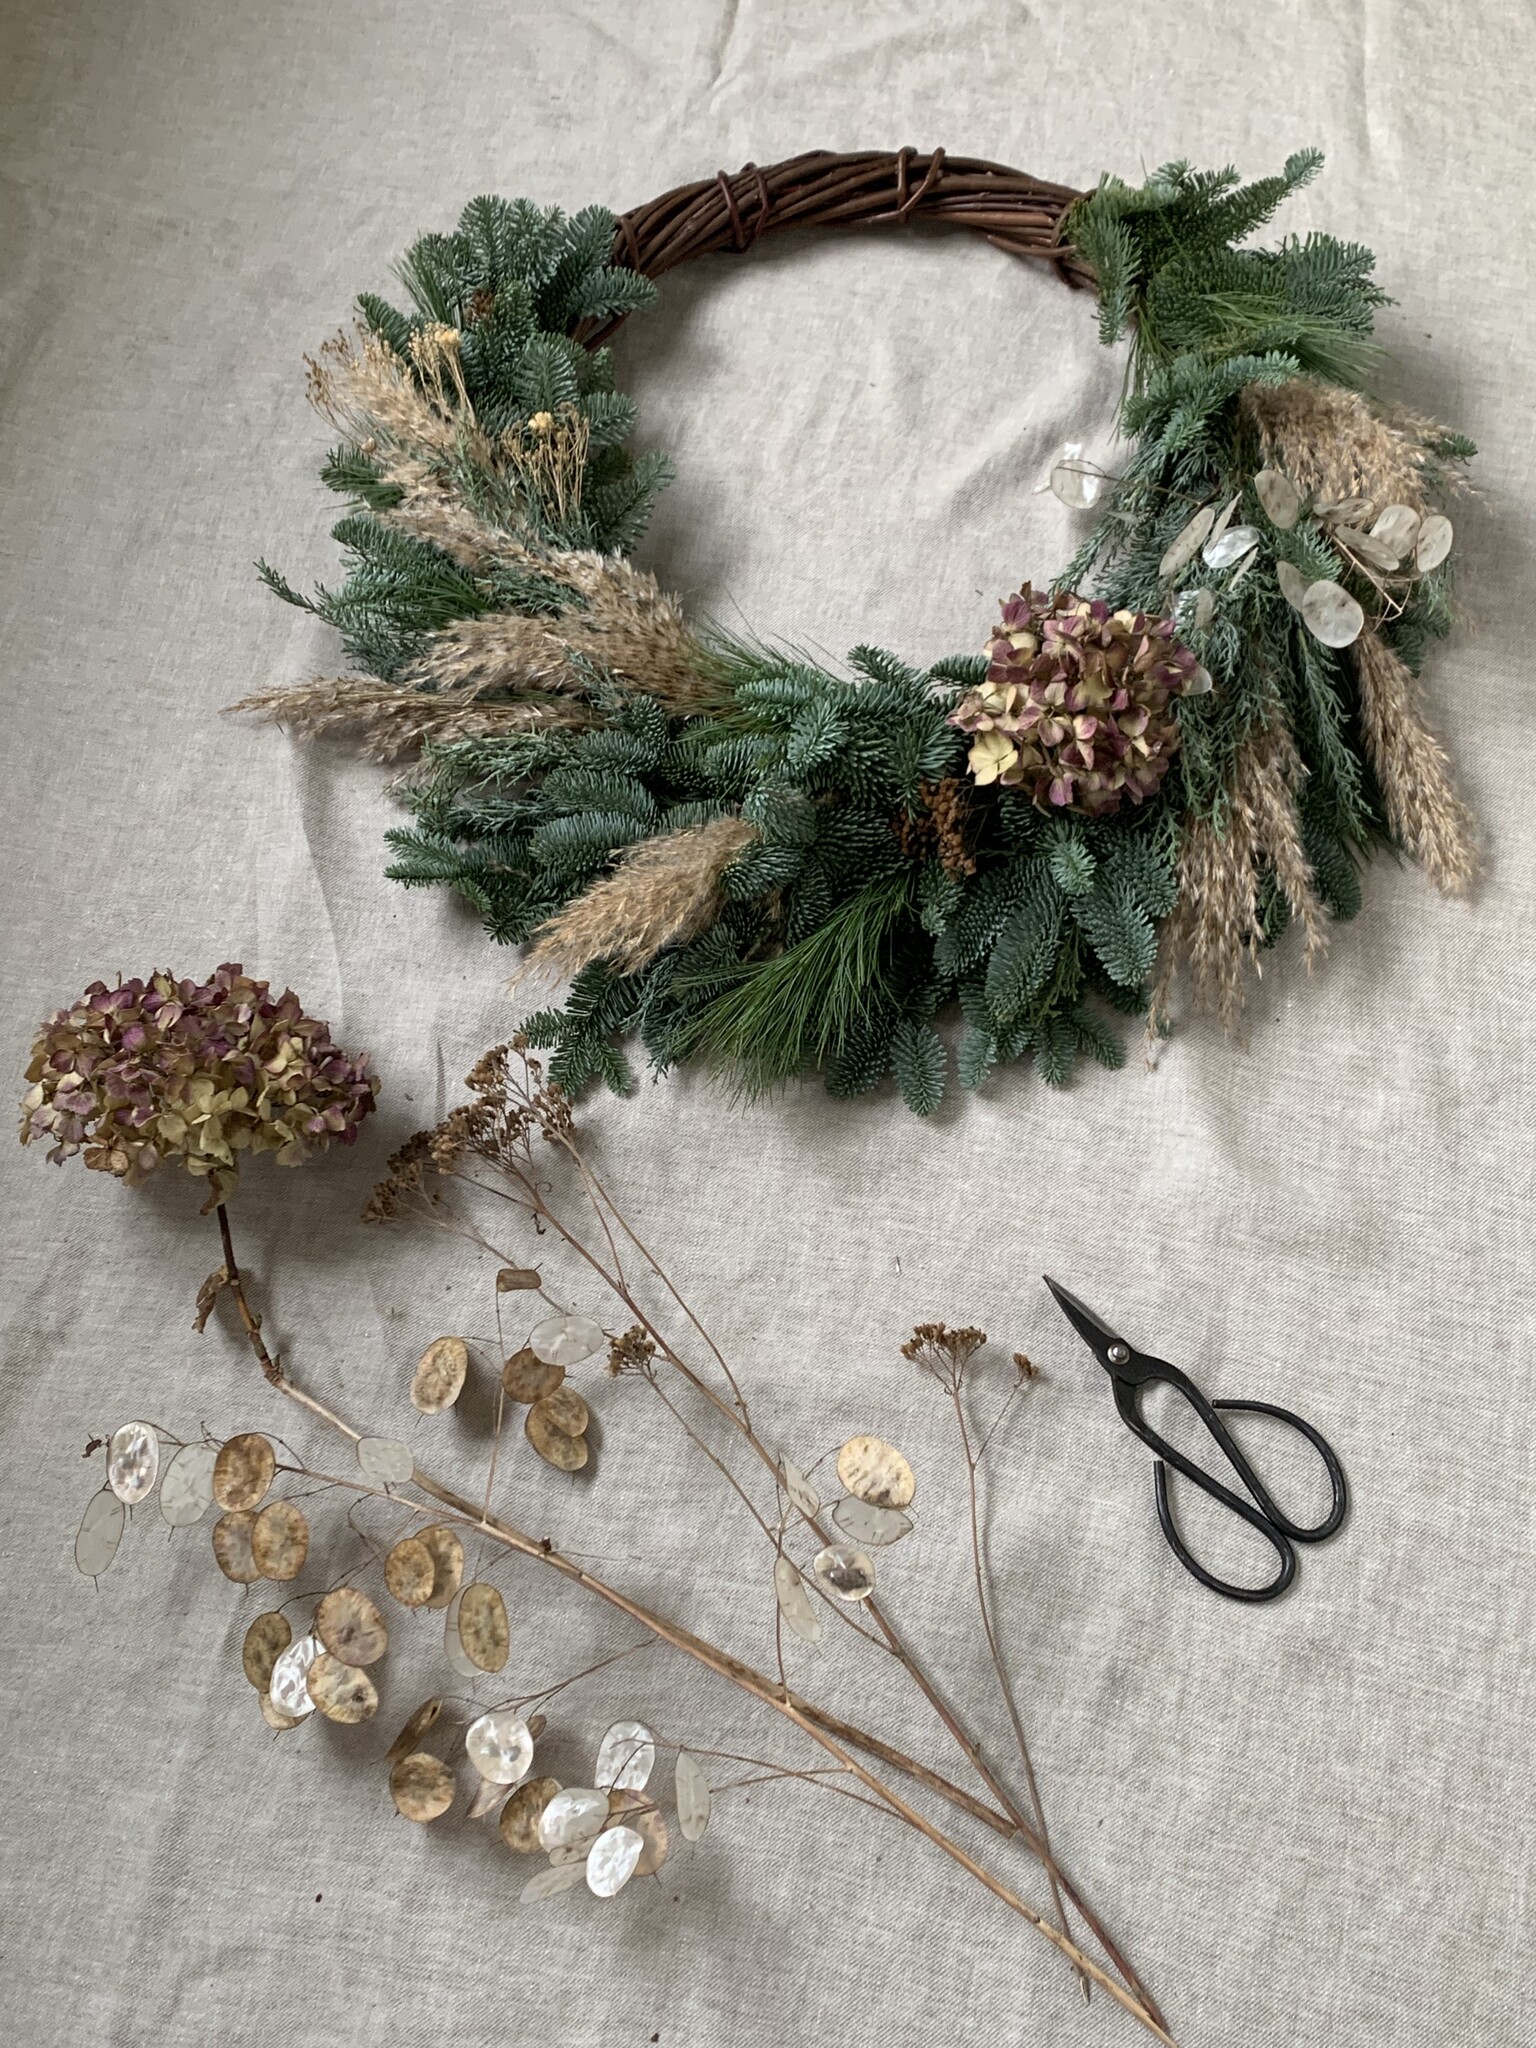
As you put in all the greens, stop periodically to assess the shape. Evaluate where you want to place your flowers – ie, which is the worst bit you want to cover up!
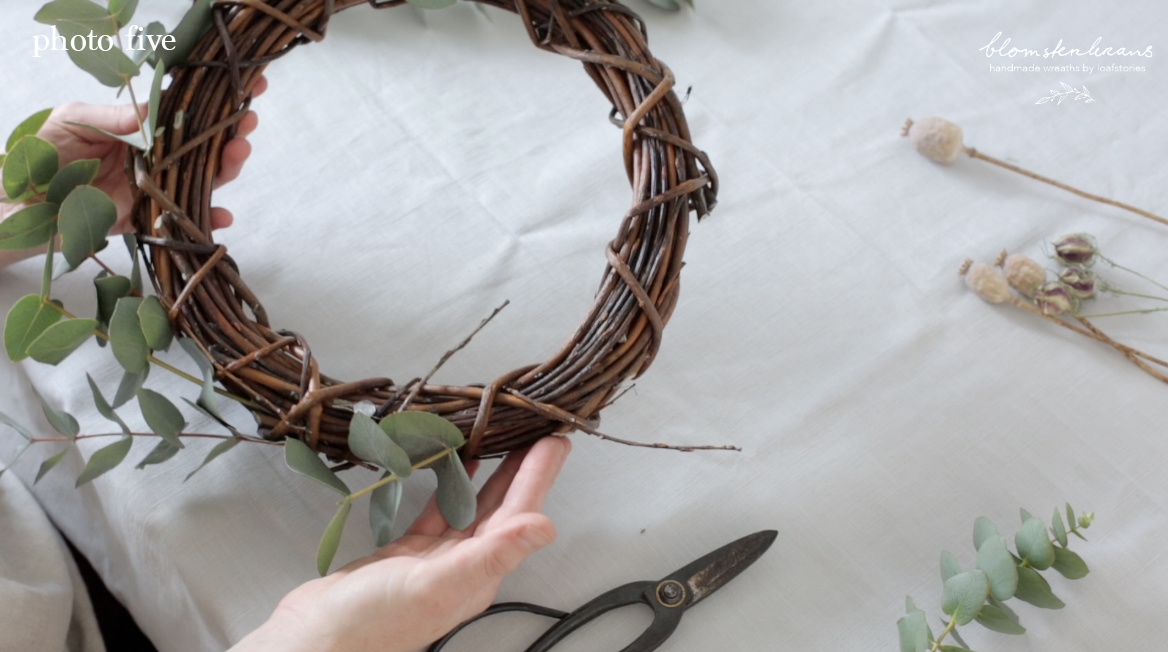
[PHOTO FIVE]
Add the flowers. Snip the blooms down so there’s around 2-3”of stem left for each flowerhead or cluster; it’s fine if these vary in size.
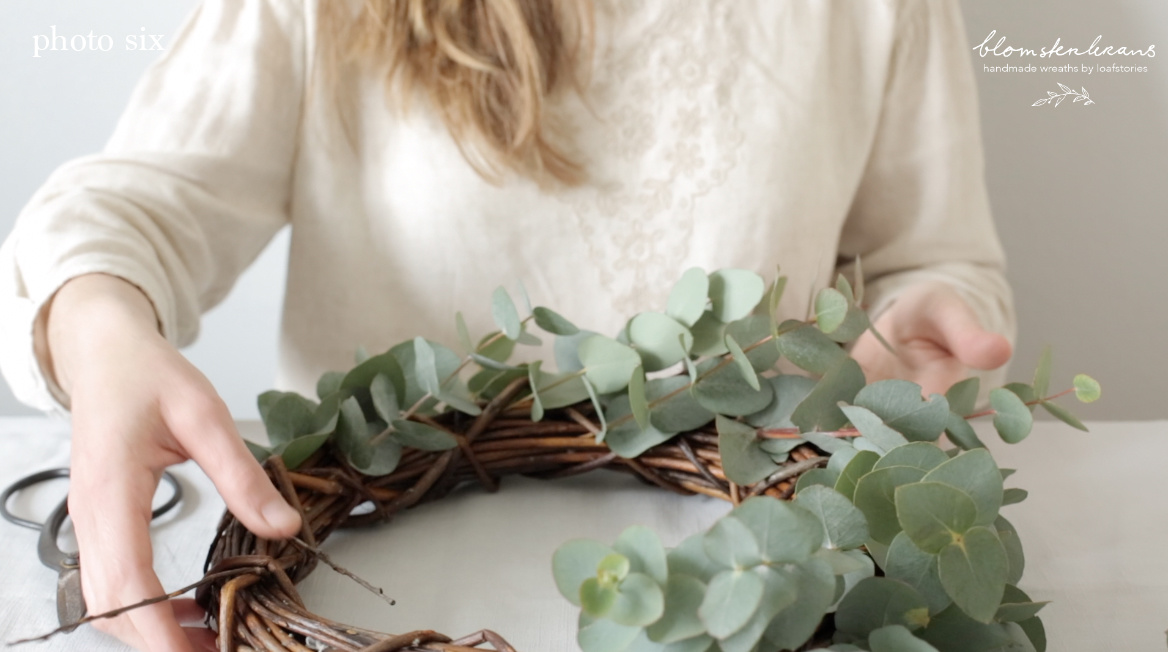
[PHOTO SIX]
Feed the stem through the twigs on your wreath and then gently pull through until the flowers catch against the wreath.
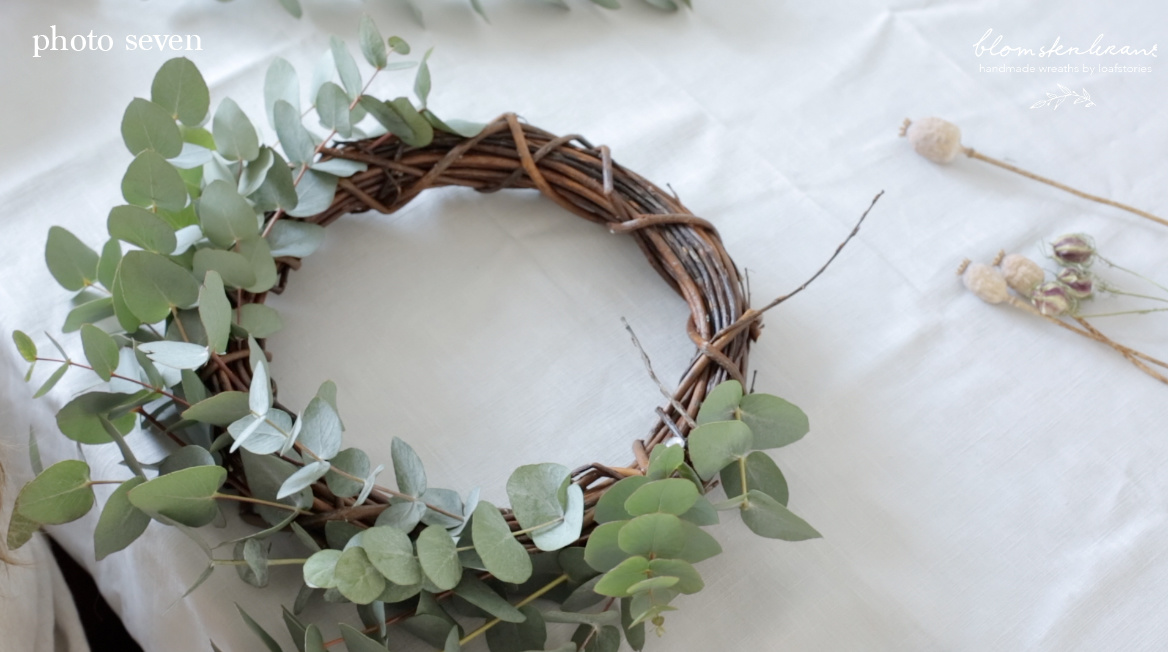
[PHOTO SEVEN]
Gradually build up the flowers in one way like in the picture, keeping an eye on the overall spread and coverage.
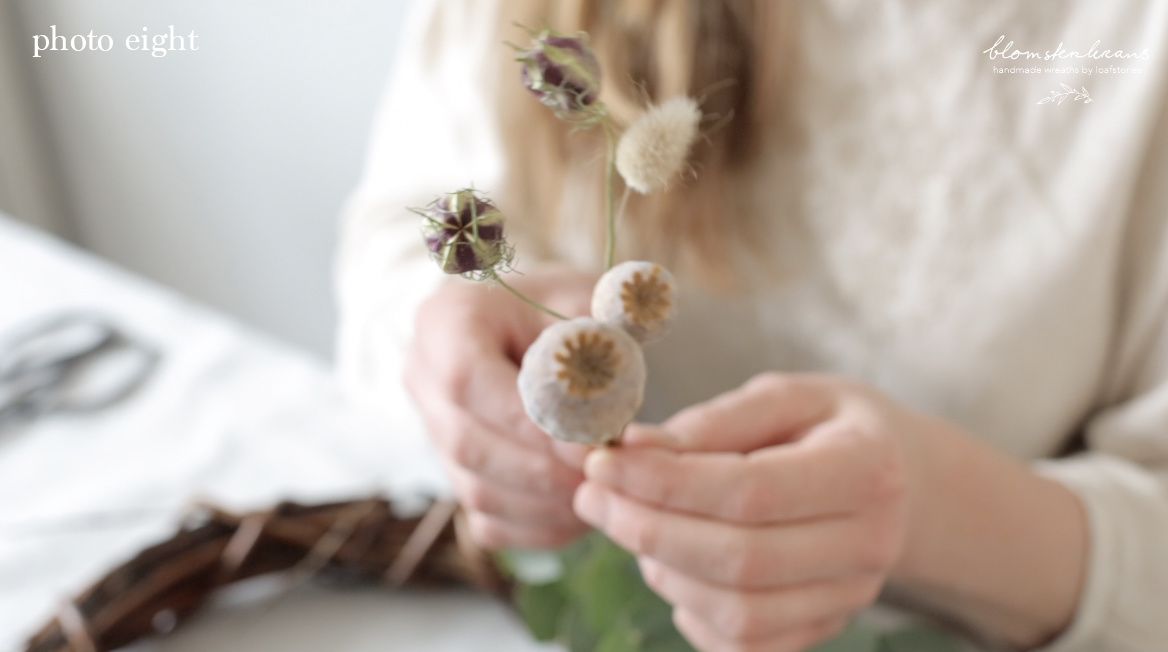
[PHOTO EIGHT]
You can add fresh spring flowers that beautifully drye or you can use dried flowers whatever you like.
Extra note:
You can add yours on Instagram and tag Blomsterkrans so all can see. (optional)
We tend to let the flower wreath dry out and hang around until you like to make refresh the base wreath with new flowers. You can use seasonal flowers and easily put them in the base wreath without any plastics or wire.
The twig wreath will dry out and become hard and light, and can be used again and again.
Enjoy making your Spring Flower Wreath!
Love
Chantana
Recente artikelen
Bekijk alles
De traditie van de krans
Uitnodiging - Winterkrans Workshop